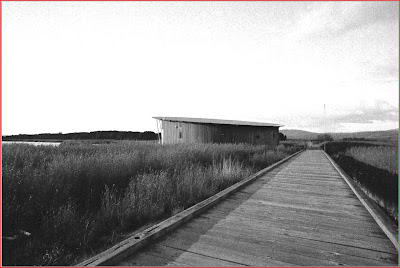
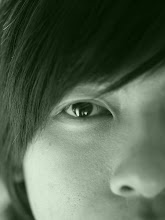
I know a lot of people hate black and white pictures, they would ask me; What happen to the colours? A friend even said that he hates reading books and magazine with black and white pictures. I was laughing inside... haha... Well I know photography is subjective and not all subjects are suitable for black and white, for example; a beautiful sunset with amazing saturated clouds, but hey, not all subjects are suitable in colour either.
Colour distract us from noticing the textures and tones. In addition, black and white is an alternative method to see things differently, normally our eyes can only see in colour but in pictures we can see them in colour or black and white and everything in between like sepia. Black and white also convey a sense of time. If an appropriate scene is chosen to convert into black and white, it can appear timeless, meaning, no one would know when the picture is taken, it can be in the past or not, who knows. Another benefit of black and white photographs is that they do not draw too much attention to our eyes when they are hung on walls, they blend in, harmoniously into the space.
It is very easy to convert pictures to black and white. You can do this without Photoshop. Heck if you are using Windows Vista, you can just double click the JPEG image and the image will open automatically in Windows Photo Gallery, then just click on the 'Fix' menu, then click on 'Adjust Colour' and finally move the saturation bar to the left, your pictures will become black and white. There... simple right?
However if you own photoshop, you can have much more control on how your black and white would appear in the final result but only if you have the colour image in the first place. So, this post is about how you can gain control in your end result of your black and white image.
There are many ways to do this is photoshop and the easiest way is to Desaturate which is similar to the process in Windows Photo Gallery. Photoshop just eliminates saturation from your pictures, making it black and white. (Click on Image, then move yout cursor to Adjustment, then finally click Desaturate or simply Shift + Ctrl + U)
Alternatively, you can select you image mode to Greyscale mode which is also very easy but again you have no control. Photoshop just discards away all the colour information, making it black and white. (Click on Image, then move your cursor to Mode, then select Greyscale)
If you are using Photoshop CS4, this is where the Black and White in the adjustment layer really shines. Our colour images are recorded in a combination of red, blue and green. So, this adjustment layer not only makes use of these three channels in Photoshop but yellow, cyan and magenta channels as well, giving you the ability to fine tune the final black and white output. This is really powerful stuff as I will now demonstrate. For comparison sake I will move each slider to the value of 200, so you can see the difference. Some are subtle but some are really drastic, so make sure you are careful with the adjustments. (Simply click on New Adjustments Layer situated at the bottom of the Photoshop pallete and then click on Black and White)

The original colour image

The black and white image with default settings

This is how the default Black and White slider looks like for the image
(Note: All the colour channel sliders are pretty much in the centre)

Original

The black and white image with adjusted red channel value to 200

This is how adjusted red channel slider looks like for the image
(Note: The red channel sliders are set to the value of 200)

Original

The black and white image with adjusted yellow channel value to 200

This is how adjusted yellow channel slider looks like for the image
(Note: The yellow channel sliders are set to the value of 200)

Original

The black and white image with adjusted green channel value to 200

This is how adjusted green channel slider looks like for the image
(Note: The green channel sliders are set to the value of 200)

Original

The black and white image with adjusted cyan channel value to 200

This is how adjusted cyan channel slider looks like for the image
(Note: The cyan channel sliders are set to the value of 200)

Original

The black and white image with adjusted blue channel value to 200

This is how adjusted blue channel slider looks like for the image
(Note: The blue channel sliders are set to the value of 200)

Original

The black and white image with adjusted magenta channel value to 200

This is how adjusted magenta channel slider looks like for the image
(Note: The magenta channel sliders are set to the value of 200)
Can you spot the difference? With this information you can experiment to get better black and white results and the look that you are after, so don't be satisfied with default settings, get in control... if you like control that its...
Sometime, I want to make a picture appear nostalgic, giving it a sense of aging. This is when I make my pictures into sepia mode. Again, this can easily be done in the camera itself. But I like to control how it would look like in the end so here's how you can do it in Photoshop...
Just like before, after you have managed to convert your pictures into black and white, then simply add the colour balance layer. Now, simply move the top slider to the right to about the value of +20 and the bottom slider to the left to about the value of -30, leaving the center slider untouched. Your preferred setting may vary but the idea is you can adjust how sepia you want it to be...(Simply click on New Adjustments Layer situated at the bottom of the Photoshop pallete and then click on Colour Balance)

The original colour image

The sepia conversion

The Colour Balance adjustment slider
(Note: The Colour Balance adjustment layer must be on top of the Black and White adjustment layer as shown in the picture above)
Its all about control...


0 comments:
Post a Comment